How to get creative with your product photography, from home
Are you looking for ways to shoot your own beautiful content, but you’re not sure where to start? We’ve gathered some advice from our community on how to get the perfect shot of your products.
By Elly Strang — 01 July, 2020
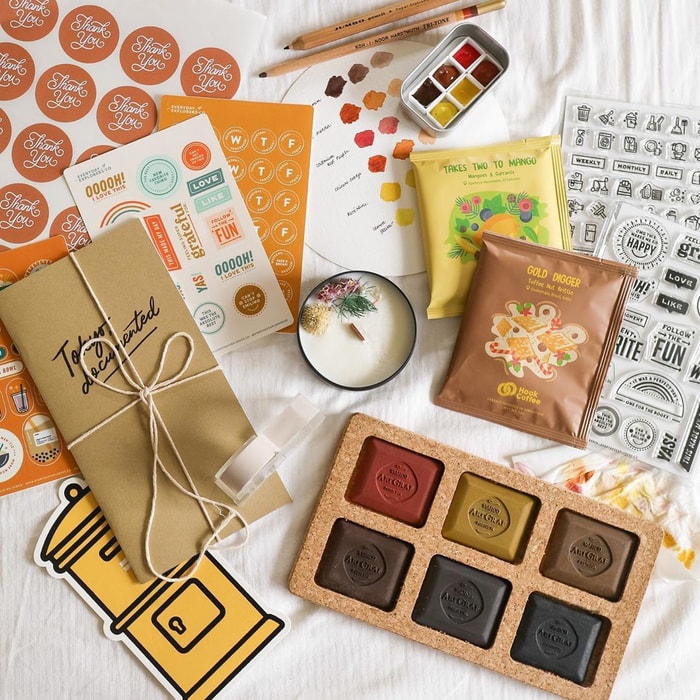
Photo by @abbeysy
Working remotely is fast becoming the new normal in 2020, with many now running day-to-day business operations out of their home.
You might be a business owner who now has the time and freedom to improve your photography skills, or you might not be able to access a professional photographer right now.
Whatever your circumstances, being able to shoot great product photography is a valuable skill to have in your toolkit – and it doesn’t require expensive equipment to get started, either.
“Social media has levelled the playing field for start-ups and brands that lack the deep pockets of the big players. Unlike traditional media, the barriers to entry are minimal and with some smarts, a compelling story and product, an investment of time and a good phone, it's open to all,” Content & Co producer Claire Belford says.
“Social media loves authenticity, something different, and aesthetically driven content. The key is to get in, have a play and figure out what content and platforms perform for your brand.”
Even if you’re just starting out, now is a good time to get creative and experiment with your product photography.
This is because social media is content hungry. Its algorithms reward businesses that actively and consistently post content their audience finds engaging by showing it to more potential followers (and customers!)
The way you shoot your products can also inspire your followers to take their own photos (aka User Generated Content), helping you reach a bigger following and giving you UGC you can repost on your own channels.
Not sure where to start? We’ve gathered some advice on how to step up your product photography game when WFH.
Lighting
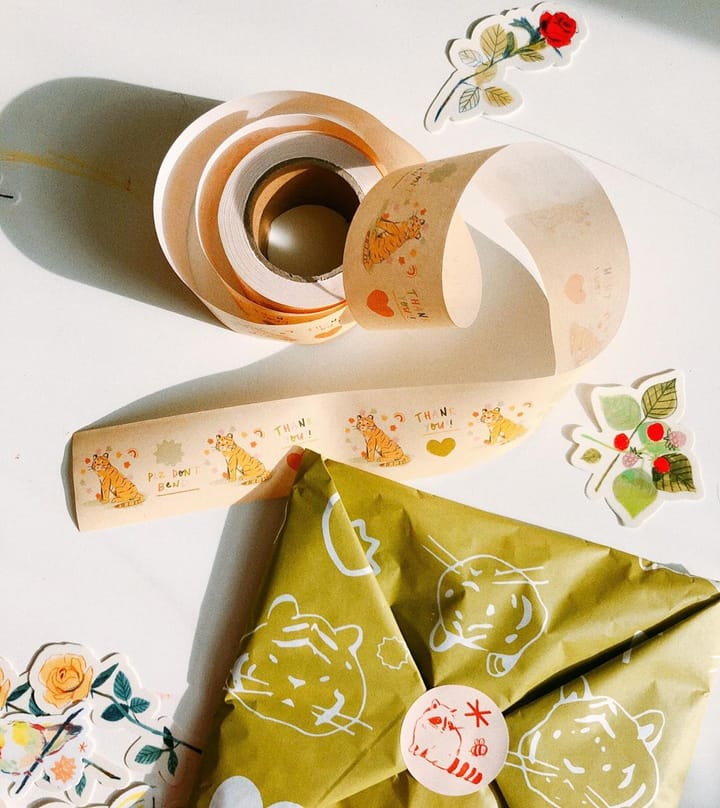
@leighellexson
First things first, one of the most important factors in nailing a great shot is lighting – especially when you don’t have a professional studio to work with.
The time of the day and location you select will make a difference in the quality of light, so it's best to plan in advance when you want to have your shoot.
Photographers refer to before sunset and after sunrise as ‘the golden hour’ because the light and colours are softer, whereas mid-morning and afternoon is best for general photography, as it’s when the sun is high and casts a more evenly lit light.
When setting up a makeshift studio at home, the key is to find indirect natural light.

“The best product photos are taken in natural light: either in front of a big window, or outside,” Delicious Monster Tea's Claire Richards says. “Direct sunlight can create shadows that are difficult to work with, so when you're taking photos outside it's best to find a patch of slight shade. Photos taken in natural light look bright and professional and are also a lot easier to edit, if necessary!”
“You want to be close to the light source as possible, so drag a table or a stool over to be right next to a window,” The Golden Letter’s Zoe Lacey says. “I also use a reflector to bounce the light back and reduce directional shadows. I have a super cheap pop-up reflector, but if you don’t have one, some cardboard covered in silver foil works just as well.”
If you feel like stepping it up a notch, you can always experiment with shadow play by using props, a curtain or a window frame overhead to create a silhouette.
Tip: It's best to avoid shooting in direct sunlight, as it can over-expose the shot. Adding artificial light to the mix can also be challenging to work with because it creates harsh contrasts between highlights and shadows.
Background
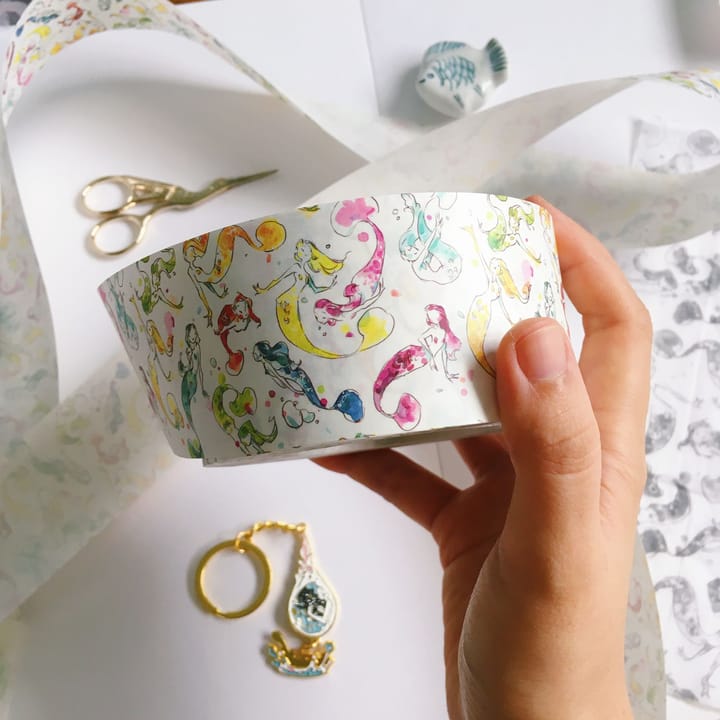
@elliethopia
The next step is finding a suitable background to shoot your image on. Keep in mind that you want the product to be the star of the shot, so it’s best to keep it simple with a neutral surface.
The great thing about working from home is there are many possibilities that can explored for a backdrop. It could be anything from your bed’s duvet cover or a sheet, to a table, to a bench top.
Content & Co’s Claire says a roll of wrapping paper or a leftover floor tile can also be the perfect surface to shoot a product on, so don’t be afraid to get creative.
Another aspect of choosing the perfect backdrop to consider is continuity. Are you going to want to access this background for future photos? If so, don’t make it too complicated – you want it to be somewhere easily on hand within your home.
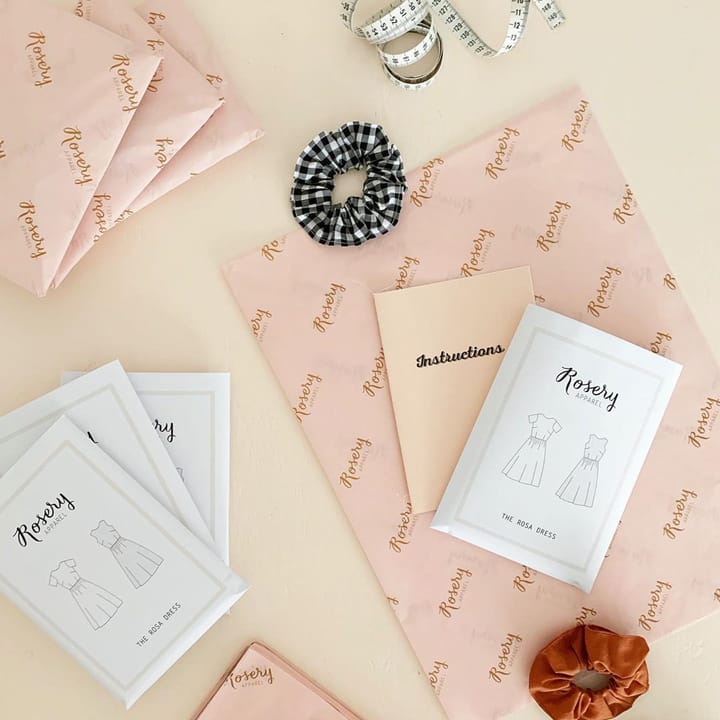
“A great way to keep your images looking consistent, especially for a platform like Instagram, is to use a backdrop in your branding colours and keep it somewhere readily available for quick snaps. I painted a table in my studio and now it’s so easy to get consistent product photos quickly without having to get all the shots on the one photo shoot day,” Rosery Apparel’s Janelle Duff says.
Tip: A background that has clashing patterns or bright colors will make the image ‘noisy’ and distract viewers from the product in the foreground of the image. If you want to introduce color or patterns to the shot, try doing it through a prop instead.
Props

When it comes to product photography, you always want the product to be the hero. However, it pays to bring in different elements through props to make the photo more dynamic and interesting.
This is particularly important for social media, as audiences will get bored of the same shot of a product being rolled out and repeated. Without getting carried away, what can you bring into the frame that will elevate the scene and compliment the product?
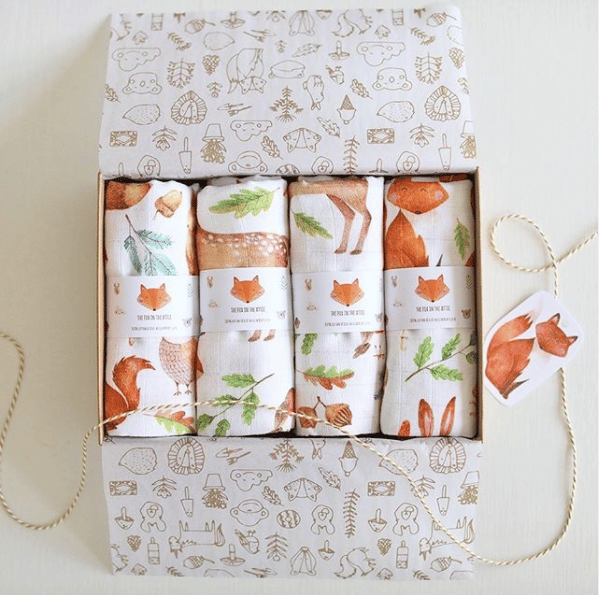
“My products are very colourful and detailed, so I usually take photos that are very clean, with not much clutter, and I light the image to draw the eye and attention to the product,” The Fox in the Attic’s Michelle Kreussel says.
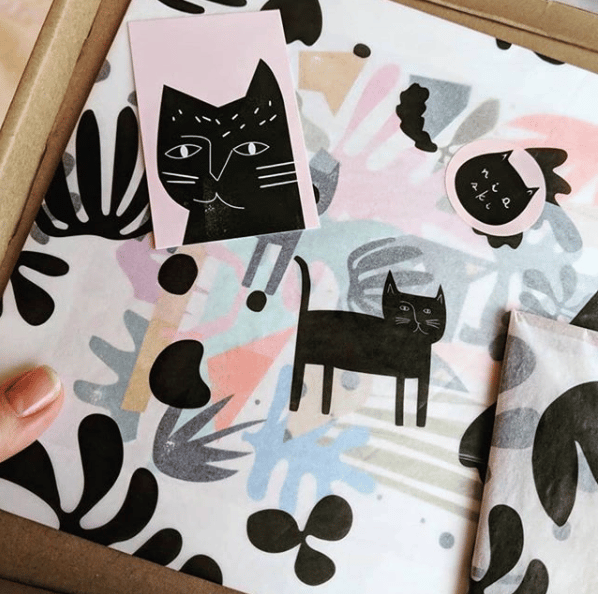
Illustrator Nia Gould’s brand is all about cats, so she says it makes sense to involve her beloved pet cats in her product shots. Another prop she loves using is packaging – especially noissue’s tissue paper.
“I love photographing my products wrapped in the tissue as I like to imagine how the customer feels when they are greeted with the parcel and how it looks when they open it for the first time. It’s like a wow factor and I think that’s all down the way its presented and the amazing tissue paper,” Nia says.
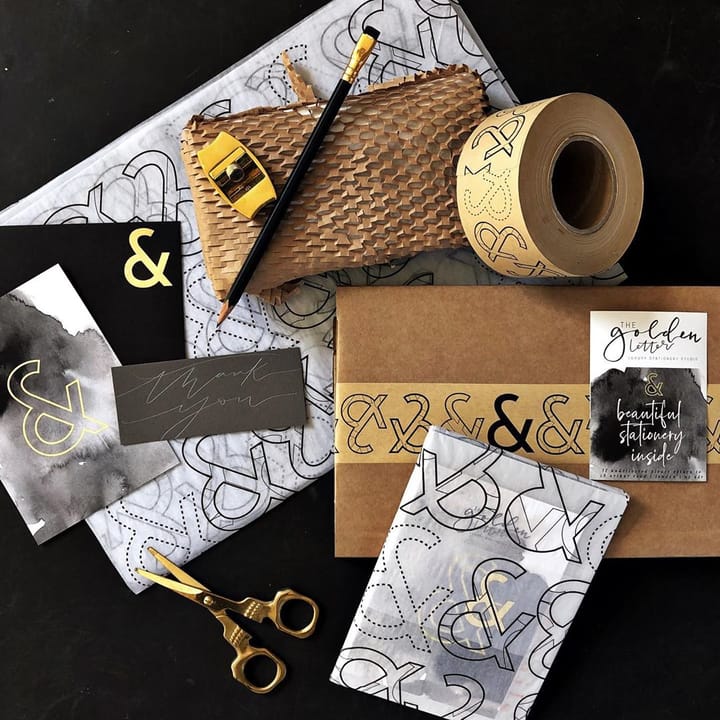
Rosery Apparel’s Janelle is also a fan of using the packaging stage as a scene for a photoshoot.
“Taking a flat-lay of your product while packaging orders not only is a great way to see the product in a different situation, but it also will give your customers an idea of how their purchases are going to arrive in the post,” Janelle says. “This kind of photo is not only interesting to look at, but also gives your customers extra value, all while also showing off your amazing product!”
Tip: If you choose to shoot your product with noissue packaging as the prop in the shot, be sure to tag us on social media so we can feature it on our channels!
Editing
Now that you’ve got the shot, it’s time to review your images. Your phone can act as a one-stop-shop for all things photography, including a range of free and paid for apps to edit your photos with.
These apps can help you make technical tweaks to increase the quality of the photo, such editing the highlights, shadows and contrasts.
“All my photos are edited, sometimes this is as simple as upping the contrast a little bit, and sometimes this involves a little more playing,” The Golden Letter’s Zoey says. “I edit using apps on my phone – I use PicTapGo and VSCO, but there are plenty of options. A 30 second phone edit can turn an average photo into a brilliant photo very quickly.”
“Don’t forget to play with the exposure while shooting too. I use my phone for most of my product shots, and this is as easy as touching the screen in the brightest place. You’ll instantly see a much better image.”
If you’re wanting to stick to one color scheme across all of your photography, a filter can act as an equaliser by changing the colors of the photo. This means even if you change up the location or props of your photos in the future, they will all have a similar aesthetic.
Tip: With social media platforms such as Instagram, your audience will be viewing your photography in a grid-like fashion on your profile. Even if the content varies, filters can help with making your images look cohesive and associated to one another.
Claire from Content & Co’s final piece of advice for budding photographers is to keep trying new things.
“The lifetime of a piece of content is short – here one minute and down the feed the next. This means that you shouldn’t be afraid to try something new and explore different opportunities. Why settle for a still when you could create a fun short video? The internet is a great source of support and learnings, what’s trending, and what’s not to keep up to date with this.”
We hope this inspires you to get behind a camera and try your hand at creating content.
Remember to plan in advance by doing some research into what you like, take your time with the shoot and don’t be afraid to play with your props and lighting. Most importantly of all, have fun and enjoy the process!